
This is a story of a little lady... Ok I'm totally singing the Brady Bunch theme song right now! My little ladies big girl room is finally (mostly) complete!! After painting/staining her dress (see here) I have been desperately wanting to work on this little desk that was Ryan's moms desk when she was little.
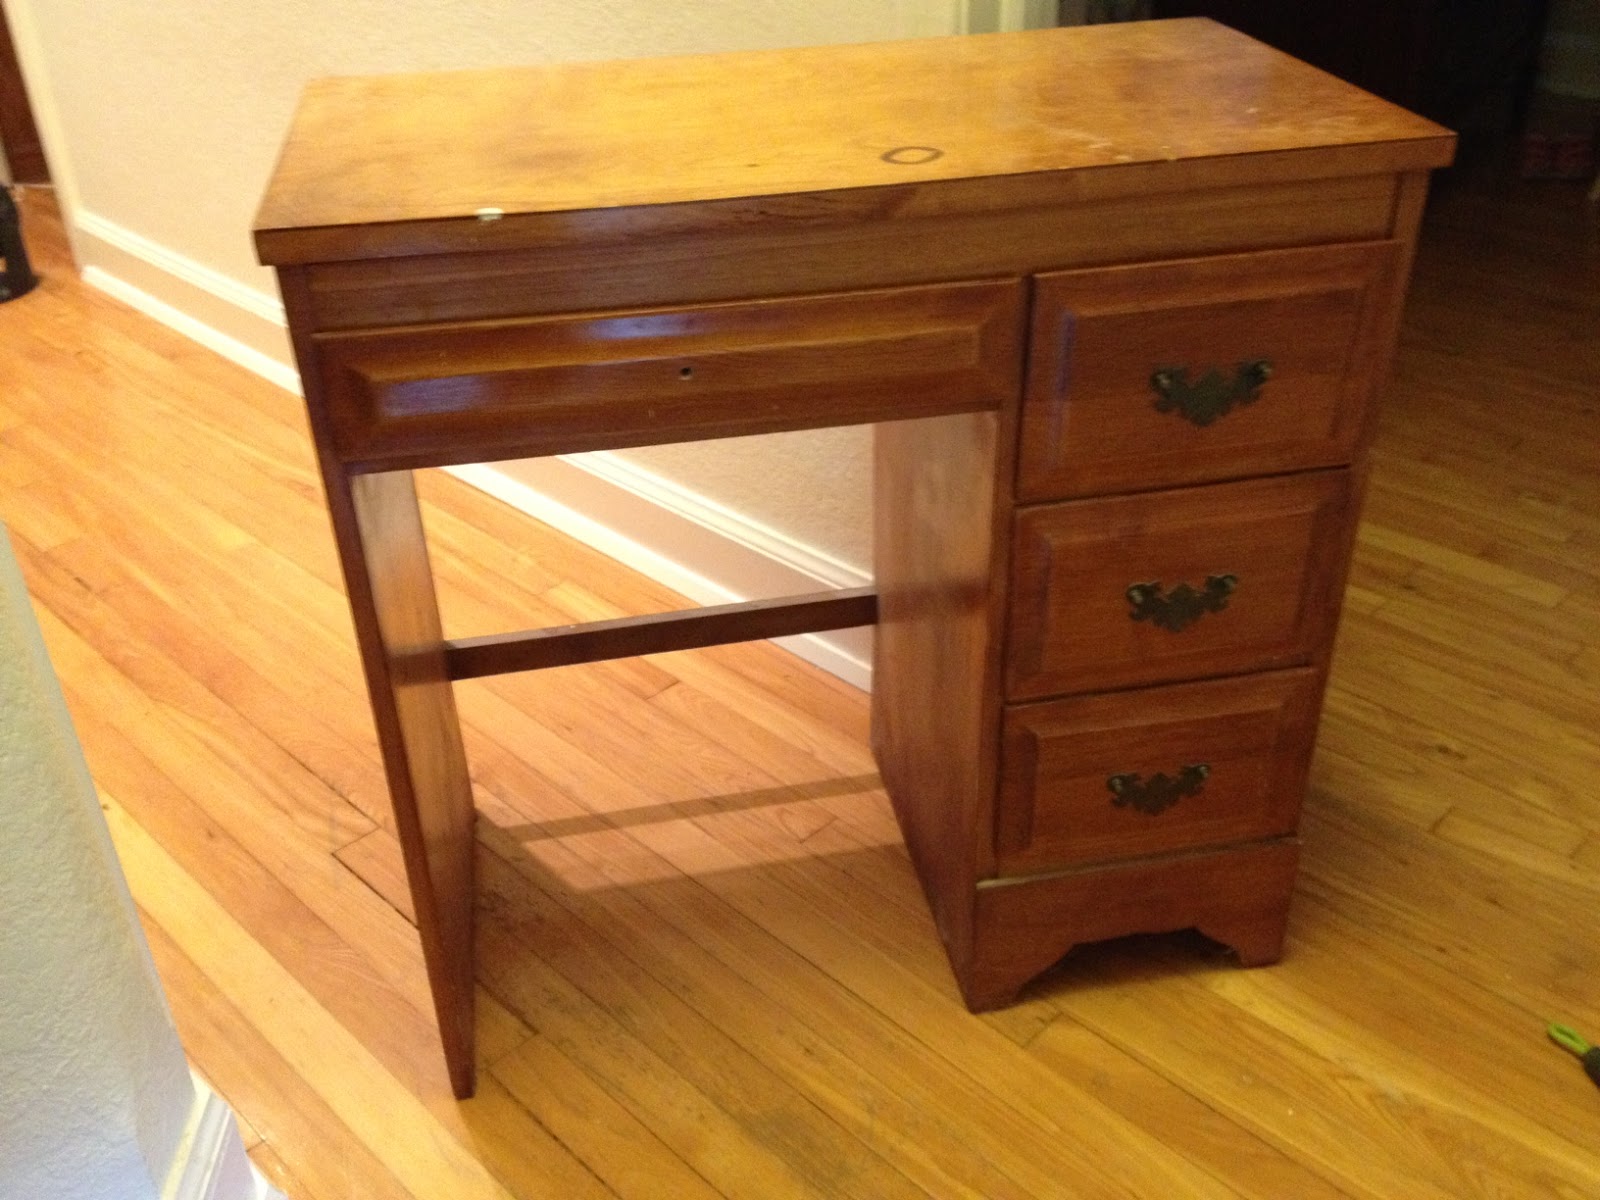
This dresser needed a little love, about a year ago my dad repaired one of the drawers because it was in 5 different pieces. Then it sat in Norah's room... untouched and completely unused. Its hard to tell but the hardware on the drawers is broken... as in there are no actual handles! So I knew that would be a challenge for me. And so it sat this way since we moved into the house almost 2 years ago.

Until this weekend when I decided it was time to make it match the dresser we redid for Norah. I asked Ryan to pull out the primer and paint while Norah and I went to a playdate Saturday morning. I came home to find that my loving husband had primed and painted the whole thing.

GREAT... wait... NO... NOT GREAT!! The plan was to make it match the dresser and the dresser we stained the top!! AHHH! This is when I learned not to leave my hubby home with paint and no direction!! OOPS! At first I thought well maybe I'll just stencil something fun in purple on the top to match the room. So I slept on it, and when I woke up Sunday morning I looked at Ryan and simultaneously we both agreed we needed to sand the top and stain it like the original plan. I figured meh its a small desk I should be able to sand this bad boy down no problem... I pulled out the power sander and almost 2 hours later it was sanded... Yep you read that correctly... 2 hours!!! That zinsser primer is MAGIC!! My sander barely survived!!! We were back to this!

And after one coat of stain it was looking pretty awesome! But of course we did a second coat.

As for what I did with the handles (sorry for lack of photos I was too excited!) I filled the double hole that the old handles had in with filler, sanded it down and painted the drawers. Then Ryan measured for a new hole in the middle. Luckily I still had ONE green and white polka dot handle left over from the dresser so at least one of the handles would be the same as the dresser. Remember I wanted these babies to tie together. And we found in our basement 3 left over silver round simple knobs... we can't actually figure out where they came from but they have been in our stash since the old house. I thought they were from our current kitchen but they aren't the same... the mystery of the silver knobs!! Anyway! This project was ultimately free!! We had the stain, the primer, the paint, the knobs!! I love free projects!!! Ain't she purdy!!!! You might notice the bottom drawer has a missing bottom edge... we couldn't do much about the missing edge so just left it as it was... its hard to tell unless you point it out. Maybe I shouldn't have pointed it out... oh well!

And with that this bedroom is DONE (other than needing a new light fixture which I'm desperately on the hunt for but haven't found just what I'm looking for yet!).
This is Norah's desk nook complete with:
- The white shelves on the left were the book holders from the back of the church pew that we have on our back deck (here) which we painted and hung.
- There is a chalk board made out of simple picture frame with chalk cloth in the middle.
- My pretty little butterfly art that I made similar to this.
- The NORAH letters my mom picked up for us at a warehouse sale for next to nothing which I Mod Podged in left over scrap paper.
- In the frame is a photo my brother and sister-in-law took of butterfly eggs on a leaf when they were in Honduras (ok I just realized the photo has fallen crooked in the frame... mental note... fix it!)
- A wood cut out of a butterfly that Norah painted and a peacock feather we picked up at the High Park zoo.
- And finally the purple metal flowers that I picked up on a clearance rack at Bouclair Home. Which is the only thing in the entire area that I actually spent any money on and I think they were $5 total.

Now to show the other side where the dresser is. We have the following:
- The dresser that we made over which cost less than $20
- A butterfly painting made for Norah for her 2nd birthday by my ever so talented friend!
- The light switch which Norah painted ever so nicely in pink and purple!
- The mirror we saved from the trash when our old neighbour was getting rid of it. Its a solid mirror that was hideous in a yellow gold paint that we spray painted white.
- The lamp was a shower gift before Norah was born which is super cute and has a bunch of animals on it.
- The random butterflies my mom gave to Norah awhile back that she had used for a wedding shower.

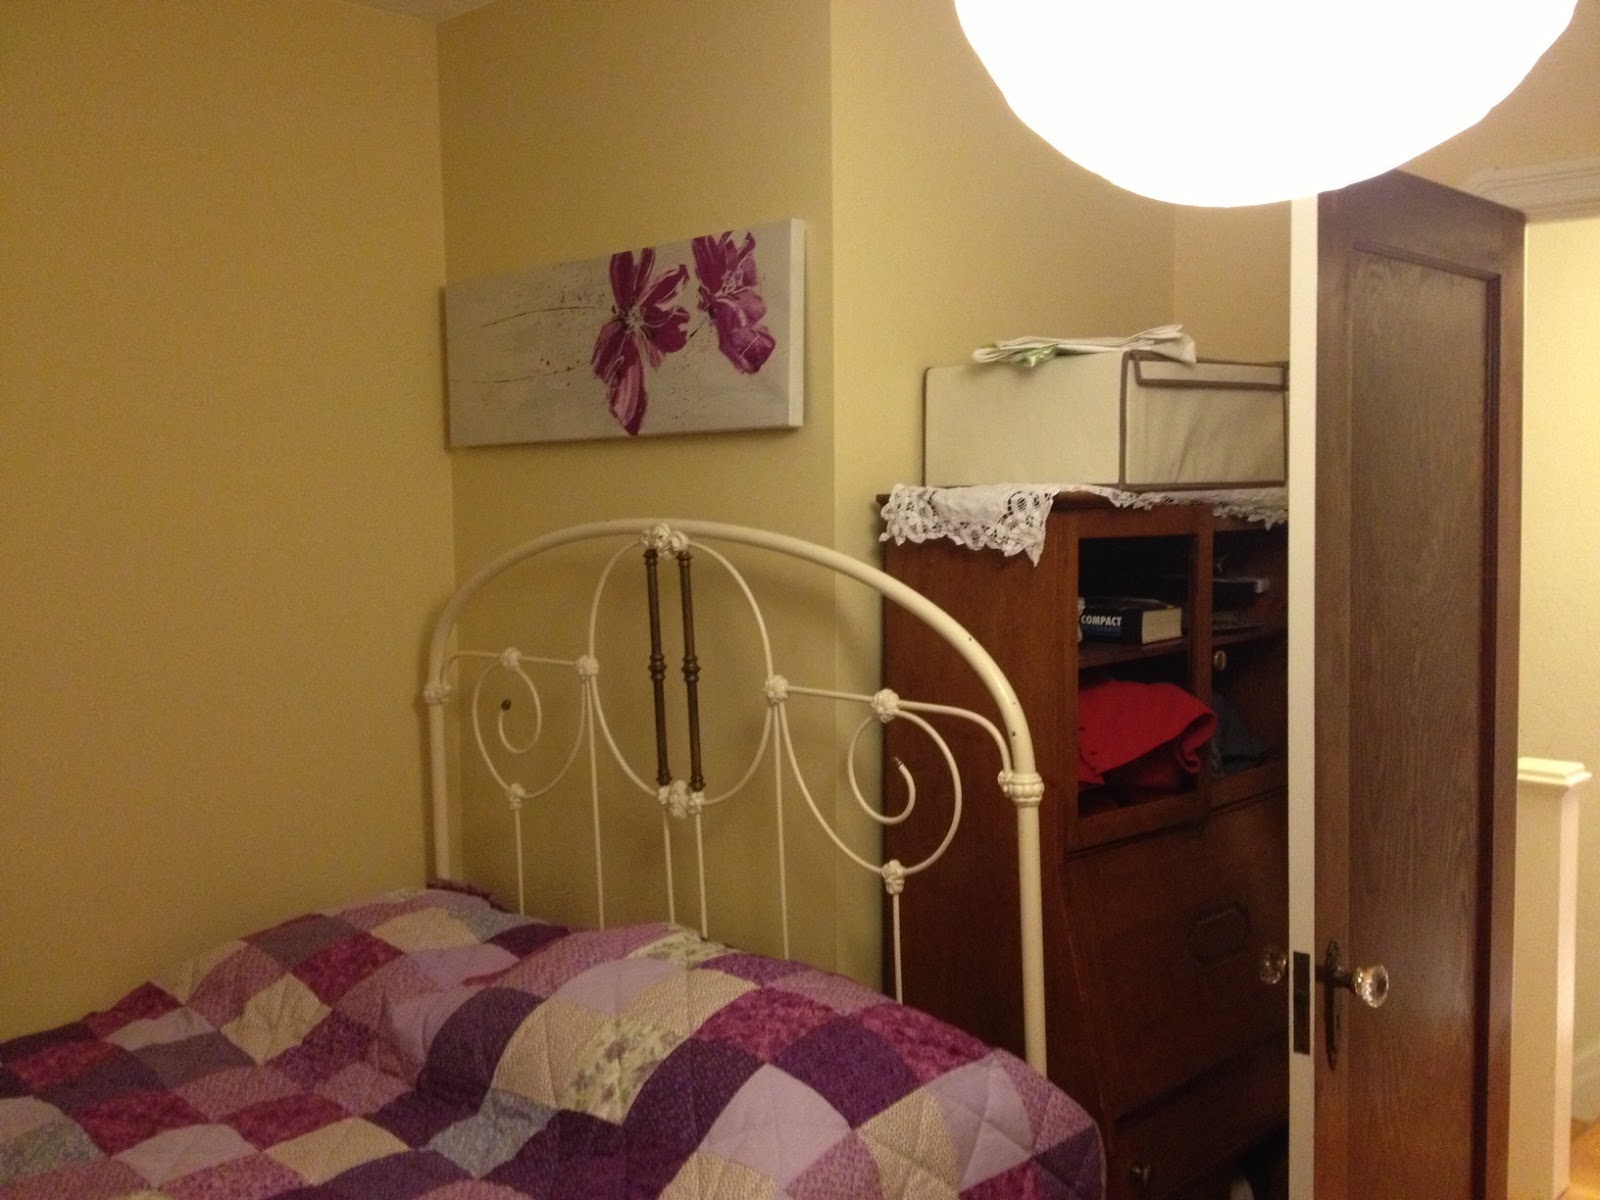
This is the view from the bed, see I need a new light fixture... that one is a simple white shade that I added purple ribbon to for now but its cracked and isn't anything special. I want a white chandelier but I haven't found any that I am willing to fork the cash over for... I'm perfectly happy painting something just haven't found one that works yet!

The famous butterfly tree that I painted for Norah!

Her bed nook.

And the other 'corner' The desk that is behind the door will eventually go but for now its the only place it fits so its staying. So just ignore that!
The cost breakdown:
* Desk - Free
* Dresser - About $20
* Metal Purple Flowers - $5
* Canvas above bed - $20
* Book Shelves - Free
* Art - Free
* 2 Wood Butterfly Cutouts - $4 total from Dollarama
* Quilt - Free (given to Norah by Grandma and Grandpa)
* Curtains - came with house!
Total Big Girl Room Cost: $49!
I love using what we've got to make over a room!!!


