Monday, July 30, 2012

Bedroom Update


Last week I wrote a post about the handles we painted. (see it here) Well I had time yesterday to install them all and clean up the bedroom a bit.  (the bedroom was a disaster!!!!) Just to recap we made our own headboard (here) out of wallpaper and trim. I still love it soooo much!! Isn't it pretty!!


I have been meaning to post these photos forever!!  Remember WAY back in this post when I showed a preview of the nightstands my dad was making us!! WELL they turned out better than even! The best part is that I found handles for them that are solid metal knobs for 62 CENTS EACH!!!!  I was so excited!  I ended up buying all of them (about 20) because they were just so awesome!!  The nightstands were made to closely resemble the oak dressers we inherited from Ryans mom. You can see the low dresser on the right of the photo below. Didn't my dad do an amazing job of matching the nightstands exactly!!!


Here is a closer look at the nightstand my dad made!!  Just another note, I picked up our bedside lamps at Bouclair for $15 each!!

And here is the low dresser with the new updated handles!! Don't the black handles look sooo much better!! I had also replaced the top 3 drawer handles with the 62 cents awesome knobs.  I forgot to take pictures but the handles up there were large hexagon brass ugly handles!! Just trust me they were hideous!

And a view of that side of the room.  The pictures (here) are temporarily hanging there that is why they aren't centered.  I am currently covered in paint working on a mirror project for that wall that is going to look amazing!! You can see my awesome chair that I am so proud of! (more on that project here)


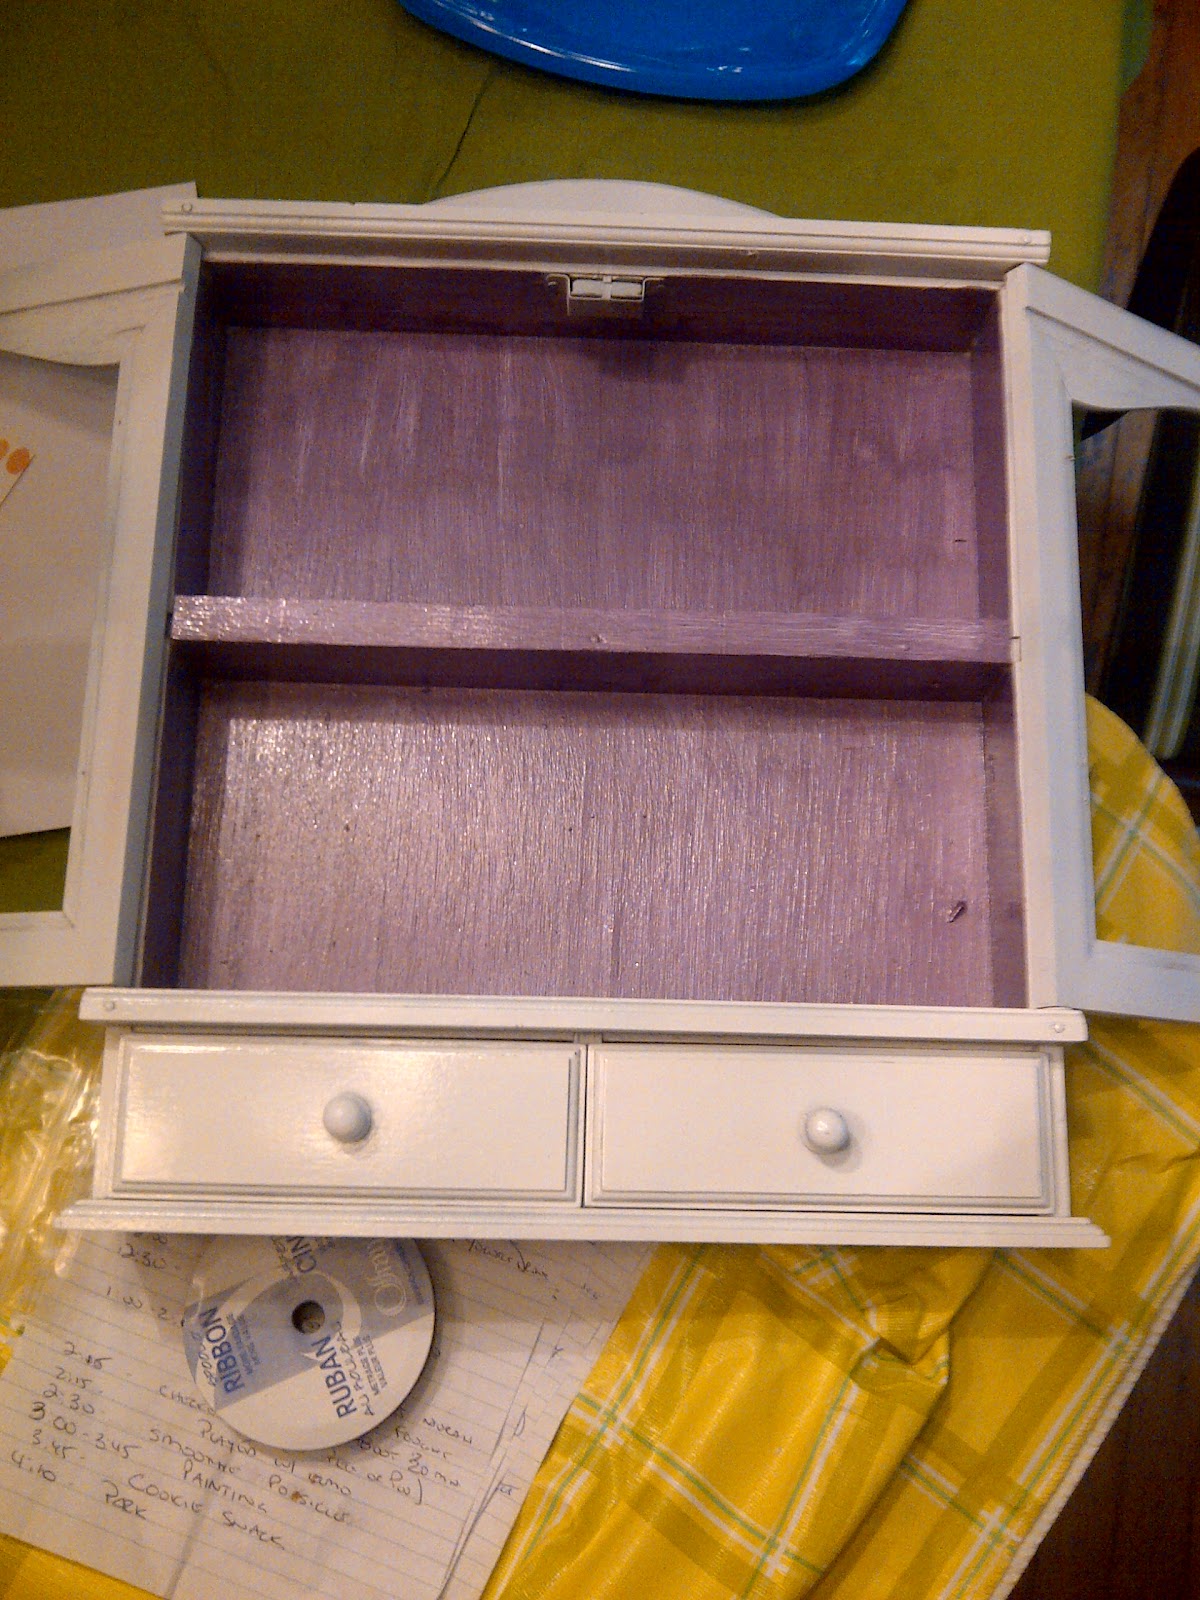
The other side of the room with the tall dresser.  I think we have one of the drawers in the tall dresser that should be in the short dresser... can you see how the handles are off near the bottom. I will have to see about fixing that, I just noticed it while writing this post!  Anyway. You can also see my jewelry holder (see here). I want to hang it on the wall but haven't had a chance yet.

Finally here is my nightstand just to show there are two nightstands.

I am so happy with how the bedroom is!!  Now that it is much more organized I am moving onto other rooms in the house to update!!  I am currently painting about 4 different projects and have paint EVERYWHERE!!! Stay tuned!

Friday, July 27, 2012

Brass Be Gone

I have previously mentioned that Ryan and I inherited some gorgeous oak dressers from his mom.  There is one big tall one and a long shorter one.  The only problem I had with them was the brass handles were UGLY.  They were well wore and completely 1970s!  Now I had originally wanted to just get new handles... but the problem was that these handles were BIG and when we took them off the dresser we found the wood underneath them was bright while the rest of the dresser was weathered.  Now eventually I would love to refinish/re stain the dressers but for now I wanted to leave them as is.  So that's when I decided it would be fun to spray paint the handles just like we did with the hardware in the kitchen in the old house (see here) This is the tall dresser with the handles before.


First step was to remove all 20 handles from the 2 dressers and clean them all.  We used soap and water and scrubbed them all to get the many years of oily fingerprints off of them.


Last time we spray painted handles we used Styrofoam to put them in so it would be easy to spray paint them.  This time we decided to use a different method for two reasons. First we didn't have any spare Styrofoam lying around (very good reason). And if that reason isn't enough for you, the second reason was that since the handle flips it would take 5 times as long to do the handles because you would have to keep flipping the handle up and down and wait for it to dry each time.

At first I had planned on hanging them all from a rope and spray painting them as they hung. Then Ryan grabbed a scrap of plywood and hammered a bunch of nails into both sides of the piece and we simply hung the handles from the screw hole in the back on the nails.

Voila!!  Hanging handles!


This is a good close up of what they looked like before.


Next it was time to prime them. I opted for a grey primer as I knew I was going to spray paint them black.


We did two coats of primer letting each coat dry for an hour (follow the directions on the spray can... each brand is different).  Then using a rough textured black spray paint we coated them in two coats of black. And with that we have these lovely black handles... they look SOOOO much better!!!


I can't wait to get home from the cottage to install them all and see what they look like!!!  I still have to show the bedside tables my dad made with the handles I picked up for 62 cents each that tie in perfectly to our new handles!!! But you'll have to wait for that! For now Norah and I are having a blast digging in the dirt!

Friday, July 20, 2012

Spice Rack Turned Jewelry Box!

Over the weekend I had a date with a few spray cans!!!!  OH I love a good spray painting party... well I guess it isn't truly a party if its just me and a spray can... more like a date... a very intimate date! OK I must confess before I continue writing this... its been a VERY loooong week and I'm beyond exhausted AND I'm on vacation in T minus 5 hours!!!!  SO with that said I may be slightly crazy today!

Anyway back to my spray painting date. Over the long weekend I picked up this awesome spice rack at a garage sale for $1!!!!  Yep that's correct a lovely $1!!!

It has little drawers at the bottom and was just so cute! I instantly knew what to do with it!!!  I've been making a tonne of jewelry frames lately yet I still don't have one myself. THIS beauty would make a PERFECT decorative holder for my jewelry! First I had to update it a bit.  So the first step was to pull out a left over can of white spray paint and go to town!!! 


I only did one coat of paint because I liked bits of the brown coming through, it gave it some character. Since I knew this was going in our bedroom I decided to coordinate it with the art Ryan and I made (see here) so I pulled out my purple and silver paint and mixed them (same as before).  And painted the inside of the cabinet a lovely silvery purple.


Next the knobs needed some 'help' so instead of replacing them Ryan suggested just painting them silver. I loved the idea and very carefully painted them silver!

Finally I hot glued screen to the inside of the cabinet doors so I can hang my earrings from the front. I also installed small hooks inside so I can hang bracelets and necklaces inside.  And here is my finished product! I still need to put my jewelry in it but for now its housing 2 bracelets.

I couldn't be happier with the end result!!! AND all of this only cost me $1!!!  I already had the paint and screen on hand.  Stay tuned for some other awesome spray paint projects I have/will do this week as I'm off on vacation and have more time for projects!!! I'm VERY excited about one project in particular... I'm going to finally paint my dining room chairs and I have an amazing idea for my dining room table!!!!!

Wednesday, July 11, 2012

TO DO LIST!

Sorry for being MIA for the last few weeks.  I honestly had a CRISIS of a situation on hand.... my daycare lady had to go in for emergency heart surgery which left us without daycare.  Don't worry our daycare lady is doing great but won't be back for some time so we spent 2 weeks running Norah here there and everywhere! Thanks to all who helped us out during the day to watch her!!!  Anyway needless to say we have been taking a break from projects and just relaxing on the weekends and playing with Norah.  BUT I have had a HUGE itch this week to accomplish something... anything.... I don't care what but I want to get my hands dirty this weekend!!!!

SO since I haven't made a recent TO DO LIST... I thought now was the perfect chance to put it out there and hopefully motivate me to get my butt in gear!!!  This list is a LONG term list... not something I plan on doing asap!

Small Projects
* Paint Magazine Rack that I picked up at our cottage shed sale for $3
* Paint spice rack - picked it up at the cottage shed sale for $1 - I plan on making an awesome Jewelry cupboard for myself!!
* Finish making jewelry frames
* Make Ryan more cufflinks!!!
* Sew Norah curtains for her room
* Finish sewing the outdoor pillows (my mom sewed 3 for us YEAH THANKS MOM)
* Paint or cover with fabric the kitchen bulletin board
* Put cork board inside spice cabinet for recipes
* Spray paint current dresser hardware black
* Paint/install old church pew shelves for book shelves for Norah
* Make chalk cloth place mats and possibly a table runner

Larger Projects
* Paint dining room chairs white (still have to convince Ryan that this is a good idea!!!)
* Paint credenza in the living room
* Build shelves above our current built-ins in the living room.  There is wasted space above our current built ins that we'd love to take advantage of and build the book shelves right to the ceiling
* Redo the curtains in the living room with Peacock Fabric!! SO EXCITED ABOUT THIS ONE!
* Paint/Decoupage small desk for Norah. It will be her 'art/drawing' desk
* Finish Norah's Pea Gravel pit
* Restain dining room table
* Organize laundry room
* Overhaul basement - New flooring, new ceiling, etc.
* Create proper storage in basement 'storage' room - ie. shelves
* Fix garden shed - ie. floor has a hole in it and it needs a paint job

For now thats all I can think of.... I would LOVE to finish a few of the smaller projects this weekend... we shall see though!!!